


eSIM has quietly become the simplest way to stay connected on short trips, but if you've never used one, the setup can feel unfamiliar. This guide takes you through the practical steps—from checking whether your phone is compatible to activating your plan at the airport—so you know exactly what to expect before you board.

Check your phone supports eSIM (and is unlocked)
Not every phone can use eSIM. You'll need an iPhone XS or newer, a recent Samsung Galaxy or Pixel, or another model released in the past few years. The easiest way to check on an iPhone is to dial *#06# and see if an EID number appears alongside your IMEI. On Android, look in Settings under Connections or SIM manager for an option to add a mobile plan or eSIM.
Just as important: your phone must be unlocked. If you bought it directly from Apple or Samsung, it almost certainly is. If it came through a network on a contract, it might still be locked to that network, which will stop any eSIM working abroad. Ring your home provider and ask them to unlock it if you're unsure—it's usually free once your contract is done.
Install your eSIM before you leave home
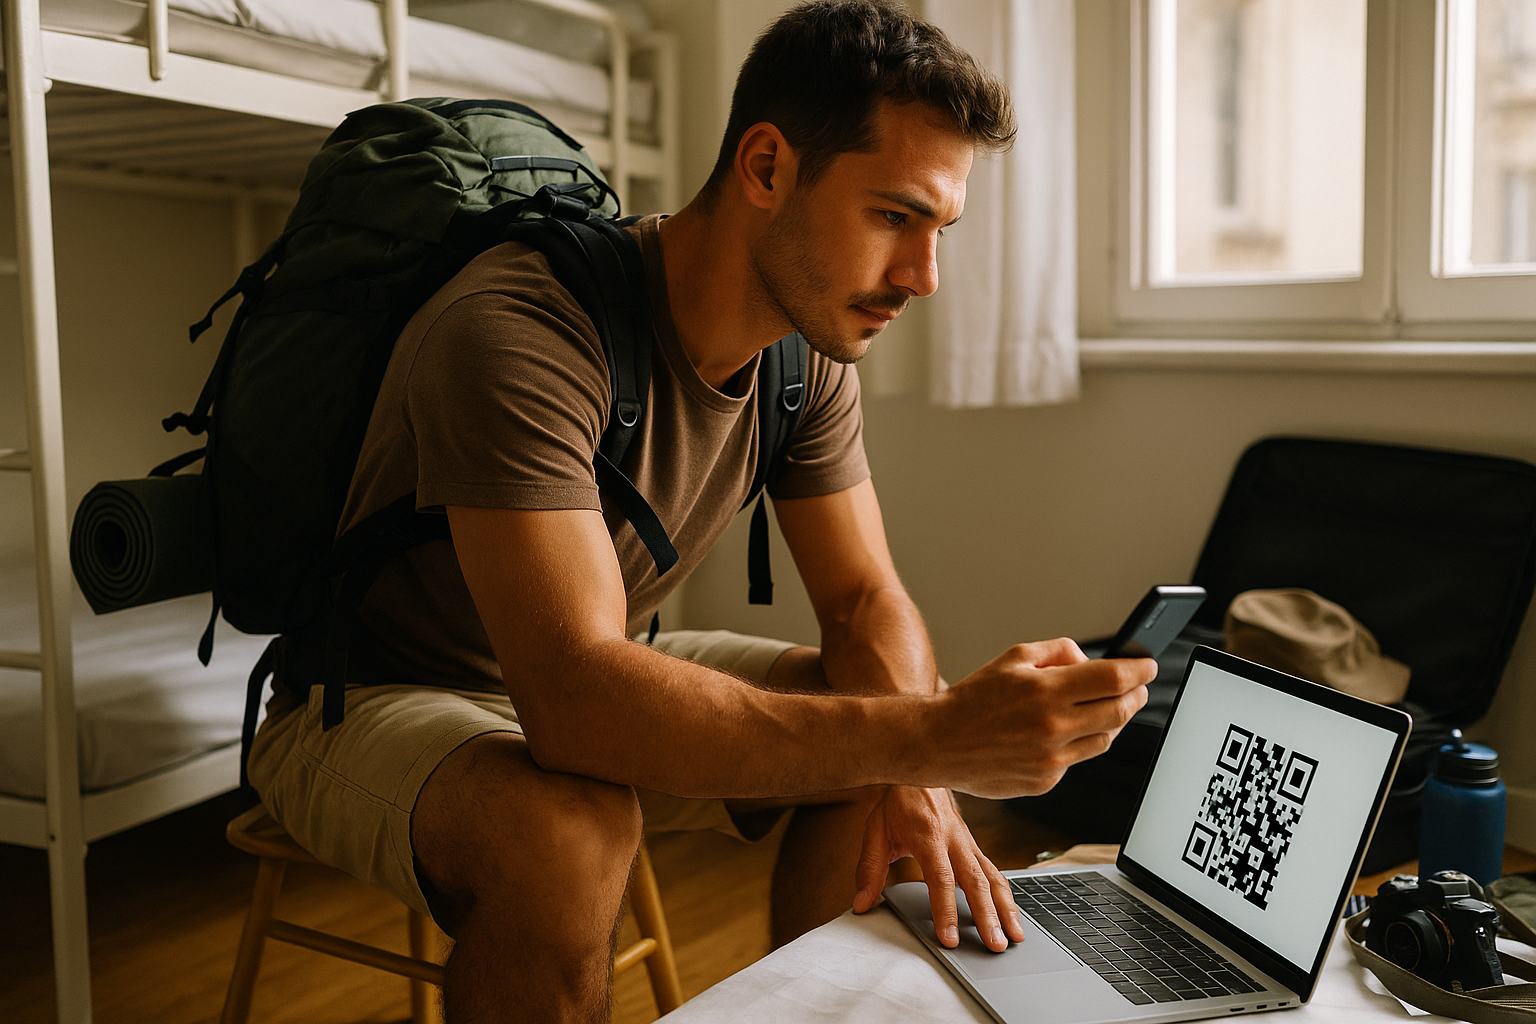
The single biggest mistake people make is trying to install an eSIM for the first time at the airport with patchy WiFi and a boarding call looming. Install it the night before while you're still on home internet. If you're using rentnconnect, download the app (iOS or Android), pick your destination and how many days you need—plans start from as little as a day—then follow the in-app steps to add the eSIM profile to your phone. It takes two minutes and you don't need to activate it yet.
Once installed, the eSIM will sit dormant in your phone's settings. You can keep using your regular number right up until you land. Some people worry that installing early will burn through their data allowance, but it won't—the plan only starts counting down when you switch it on and connect to a foreign network.
Turn on your eSIM when you land, turn off the other one
When your plane touches down, go into your phone's settings and do two things. First, turn on data for your new eSIM. On iPhone, that's under Settings > Cellular > select the eSIM > toggle Cellular Data on. On Android, it's usually Settings > Connections > SIM manager > select the eSIM > enable mobile data. Second—and people forget this—turn off data roaming on your home SIM, or turn that line off altogether. Otherwise your phone might latch onto your expensive home network without asking.
Give it thirty seconds and you should see a foreign network name appear at the top of your screen. If it doesn't connect immediately, try toggling airplane mode off and on, or restarting the phone. Your home number will still work for calls and texts over WiFi if you need it, but all your data will route through the eSIM and you won't come home to a surprise bill.
Top up in the app if you run low (or rent a hotspot for groups)
One advantage of pay-as-you-go eSIM is that you're not stuck with a fixed bundle. If you're halfway through a trip and notice you're running low, open the rentnconnect app and top up with more data or extra days. No need to find a shop or swap anything physical—it's live in a few seconds.
If you're travelling with family or friends who don't all have eSIM-compatible phones, renting a mobile hotspot (pocket WiFi) makes more sense than buying separate plans for everyone. rentnconnect offers portable hotspots that you collect before you leave or have delivered, and up to five devices can share the connection. You manage it the same way through the app, and return the unit when you're home. It's particularly useful when you've got a mix of phones, tablets, and that one person still using an older handset.